The Correct Way to Run BIOS Flashback Without a CPU
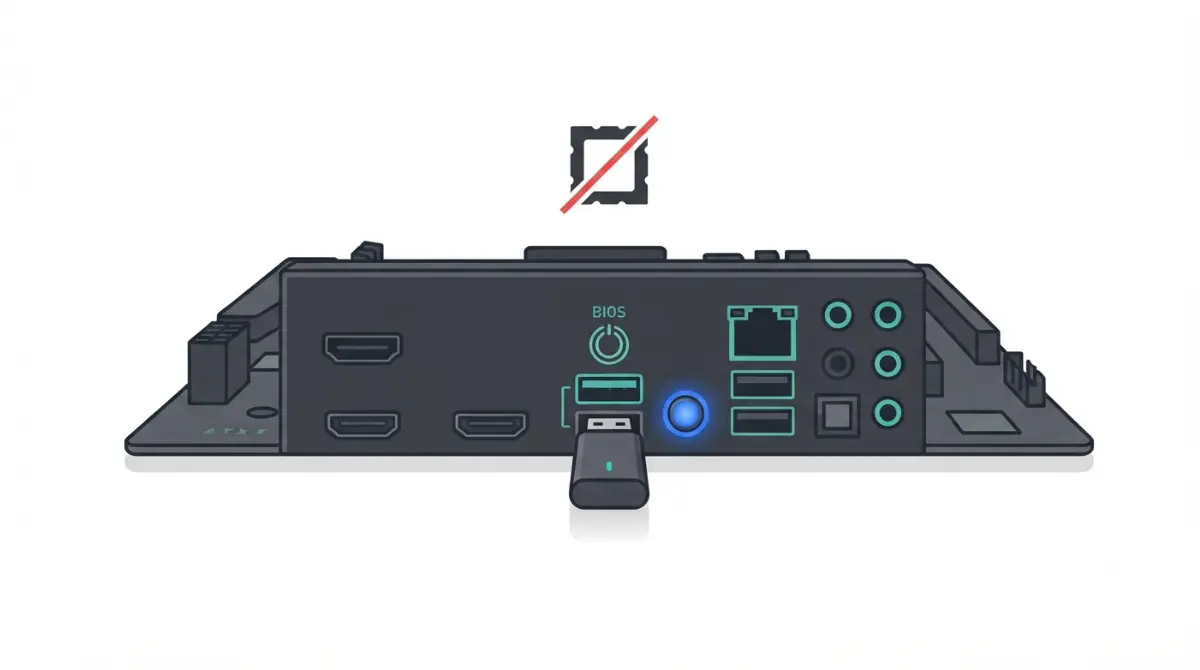
Table of Contents
Can you update BIOS without a CPU installed?
Yes. BIOS flashback updates a motherboard’s firmware with no CPU, RAM, or graphics card fitted, but only on boards that include the feature. ASUS says most of its boards can update the BIOS with only the ATX power connector attached, with no CPU or memory required.
Each brand names it differently: USB BIOS FlashBack (ASUS), Flash BIOS Button (MSI), Q-Flash Plus (Gigabyte), and BIOS Flashback (ASRock). Start from your situation:
- Not sure you need an update? Read the next section first.
- Not sure your board has it? Check the section on finding the button.
- Ready to flash? Go to the brand-by-brand table.
- LED won’t blink or the flash failed? Skip to troubleshooting.
This check is one step in our full motherboard compatibility checklist.
ℹ️ Risk Note: Flashing a BIOS can leave a motherboard unable to boot if power is cut mid-flash or the wrong file is used. Use only the file your board manufacturer publishes for your exact model, follow your board’s manual, and contact the manufacturer’s support if any step is unclear.
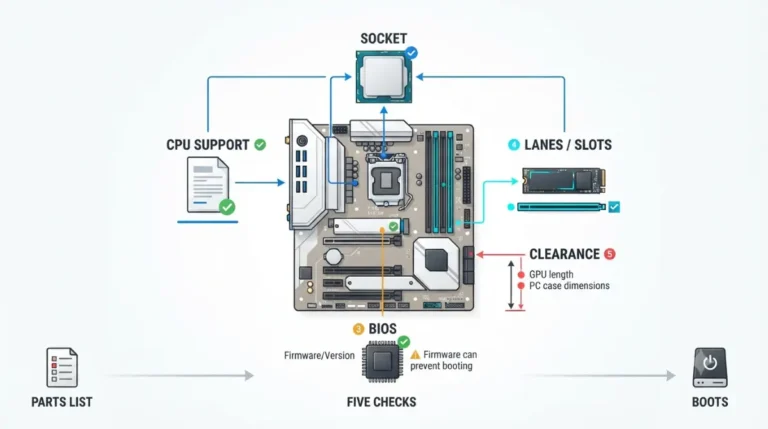
Do you actually need to flash before building?
Flash only if your processor needs a newer BIOS version than your board may have shipped with. The answer lives on your exact board’s CPU support list, not on the chipset’s.
Find your CPU’s minimum BIOS version
Open your motherboard’s support page, select the correct board revision, and find your processor on the CPU support list. The list names the first BIOS version that supports it. Here’s how to check which BIOS version your CPU needs step by step.
What if the board already has it?
Then skip flashback entirely. Without booting, you usually can’t confirm the installed version unless the box, a label, or the seller states it.
How to tell if your motherboard has BIOS flashback
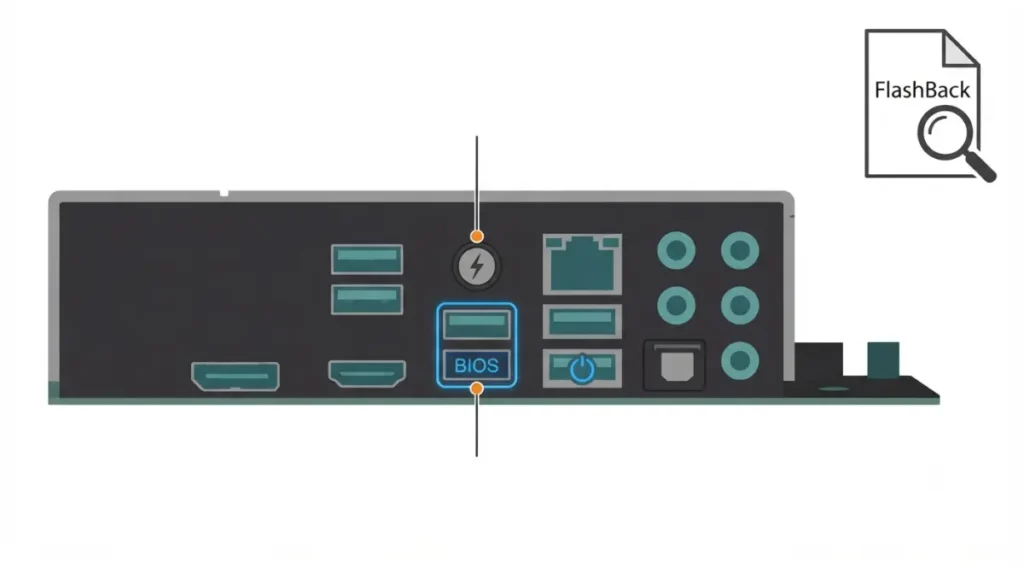
Flashback support depends on the exact model, so two boards with the same chipset can differ.
Check the spec page and manual
Search your board’s spec page and manual for the brand’s feature name. MSI states that not every model supports its Flash BIOS Button, and models without the button don’t support the feature. Chipset alone won’t tell you, the same way it won’t settle socket and chipset compatibility.
Find the button and port on the rear I/O
Supported boards have a small button and one designated USB port. Both ASUS and ASRock direct you to your model’s manual for which port to use.
💡 Pro Tip: Open your manual’s PDF and search for “Flashback,” “Flash BIOS,” or “Q-Flash Plus.” The rear I/O diagram labels the exact port.
What you need before you press the button
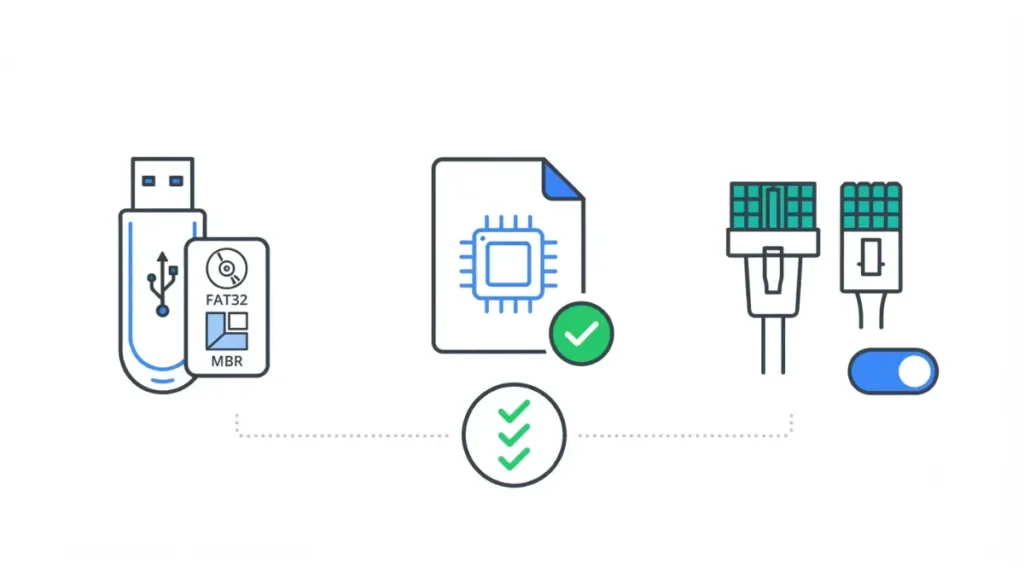
A successful flash needs three things right: the BIOS file, the drive, and the power connections.
USB drive format
The brands phrase their requirements differently:
- MSI asks for a FAT32-formatted drive.
- ASRock requires the MBR partition style and FAT32.
- Gigabyte specifies FAT32 or FAT16 on a USB 2.0 drive in its X470-series guide.
For ASUS boards, confirm the format in your manual. Keep the drive nearly empty, because MSI notes that many files slow its search for the BIOS file.
Which power cables to connect
| Brand | Power connections the manufacturer lists |
|---|---|
| ASUS | ATX power connector only |
| MSI | CPU_PWR1 and ATX_PWR1 |
| ASRock | 24-pin; PSU switch on, system not powered on |
| Gigabyte | Not stated in the cited guide; check your manual |
Source: ASUS ROG; MSI FAQ; ASRock Flashback guide. As of September 2026.
If the connector names are unfamiliar, see which 24-pin and EPS power connectors go where.
✅ Do This: Format the drive before copying anything, since formatting erases it. Back up anything you need from it first.
BIOS flashback steps for ASUS, MSI, Gigabyte and ASRock
Every brand follows the same five-step pattern:
- Download your board’s BIOS.
- Rename it as the brand requires.
- Copy it to the drive’s root.
- Plug the drive into the flashback port.
- Press the button.
The file name is where the brands differ most.
| Brand (feature) | Rename file to | Start the flash | Key detail |
|---|---|---|---|
| ASUS (USB BIOS FlashBack) | Run the included BIOSRenamer on the .CAP file | Hold button 3 seconds until LED blinks 3 times | Use the FlashBack port shown in your manual |
| MSI (Flash BIOS Button) | MSI.ROM | Press Flash BIOS Button; LED flashes | Rear port labeled “BIOS”; light off means done |
| Gigabyte (Q-Flash Plus) | GIGABYTE.bin | With system off, follow your manual’s Q-Flash Plus step | White rear USB port in the X470-series guide |
| ASRock (BIOS Flashback) | CREATIVE.ROM | Hold switch about 3 seconds until LED blinks | Resets TPM; suspend BitLocker first |
Source: ASUS FAQ; MSI; Gigabyte feature manuals; ASRock. As of September 2026.
Read your brand’s full official steps before starting:
- ASUS’s USB BIOS FlashBack instructions
- MSI’s Flash BIOS Button guide
- Gigabyte’s Q-Flash Plus section in its feature manual
- ASRock’s Flashback feature user guide
If your manual differs from this table, follow the manual.
⚠️ Watch Out: Turn on file-name extensions in File Explorer before renaming. A file that looks like MSI.ROM but secretly ends in another extension won’t be recognized.
What happens during the flash and after
Once the LED starts flashing, leave everything alone until it finishes.
Don’t cut power
MSI warns that powering off during the refresh may damage the BIOS chip. If your area has unstable power, wait for a stable window.
TPM and BitLocker
ASRock says flashback resets TPM, so suspend BitLocker and any TPM-based encryption beforehand. This matters when reflashing an existing Windows system, not a fresh build.
Confirm the new version
📊 Spec Check: Gigabyte’s X470-series guide says its FBIOS_LED stops flashing after about 2–3 minutes once the main BIOS is written. On DualBIOS boards, the system then reboots and updates the backup BIOS.
BIOS flashback not working? Check these first
A flash that won’t start usually comes down to a detail you can recheck safely.
LED won’t start
Work through these in order:
- Confirm the exact file name and extension.
- Confirm the drive format.
- Confirm you’re using the designated port.
- Try a different USB drive.
- Re-download the BIOS for your exact model.
LED stays solid or the flash fails
ASUS describes failure as the indicator flashing for more than 5 seconds and then staying on. It advises checking that the file matches the model, retrying, and then contacting an ASUS service center.
⚠️ Watch Out: If the board still won’t flash or boot after these checks, stop there. Contact your board manufacturer’s support about repair or RMA rather than trying hardware workarounds.
BIOS flashback FAQ
1. Can you use BIOS flashback without a CPU?
Yes. BIOS flashback updates firmware with no CPU, RAM, or GPU installed, but only on motherboards that include the feature.
2. Does my motherboard have BIOS flashback?
Check your exact model’s spec page and manual for a flashback button and port. MSI says boards without the button don’t support it.
3. Which power cables does BIOS flashback need?
It varies by brand: MSI lists the 24-pin and CPU power, and ASRock lists the 24-pin. Your board’s manual has the final answer.
4. What USB format does BIOS flashback need?
MSI and ASRock specify FAT32, and ASRock also requires MBR. Gigabyte’s guide allows FAT32 or FAT16. Confirm in your manual.
5. What do I rename the file to for BIOS flashback?
MSI uses MSI.ROM, Gigabyte uses GIGABYTE.bin, and ASRock uses CREATIVE.ROM. ASUS includes a BIOSRenamer tool that renames it for you.
6. How long does BIOS flashback take?
It varies by board. Gigabyte’s X470-series guide cites about 2–3 minutes for the main BIOS. Wait until the LED signals completion.
7. Why is my BIOS flashback LED not blinking?
Recheck the file name, drive format, and USB port against your manual, then try a different drive. If it still fails, contact your board manufacturer’s support.
8. Can BIOS flashback brick my motherboard?
MSI warns that cutting power mid-flash can damage the BIOS chip, so leave the system untouched until finished. If it won’t boot afterward, contact the manufacturer’s support.
9. Does BIOS flashback reset TPM or BitLocker?
On ASRock boards, yes. ASRock says flashback resets TPM, so suspend BitLocker first on an existing Windows system.
10. How do I check that BIOS flashback worked?
Install the CPU, enter BIOS setup, and confirm the version shown matches the file you downloaded, as ASUS recommends.
Your next step after a successful flash
With the new BIOS in place, install your CPU and confirm the version in BIOS setup. If anything failed, your board maker’s support is the right next call. If you’re still choosing a platform, start with our guide comparing AM5 chipsets.