What Your Motherboard Debug LED Means When There’s No POST
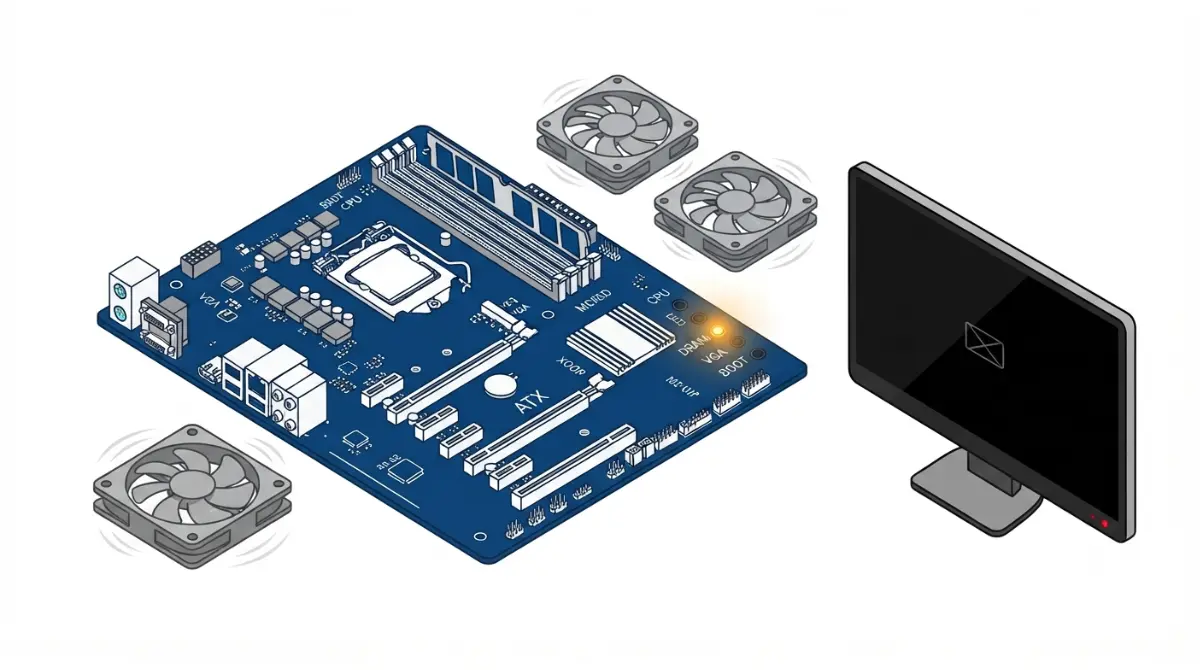
Table of Contents
Which debug LED is stuck on your board?
Your fans spin and the screen stays black. One small light on the motherboard won’t go out.
Fans spin but no display: what the LED is telling you
That light is the motherboard debug LED. It marks the stage of the power-on self-test (POST) where your board stopped. It tells you where to look, not necessarily which part is broken.
What did you change last?
Start from your situation:
- Brand-new build, first power-on: read the waiting section first, because a long memory light can be normal.
- Just swapped RAM or a CPU: go straight to the DRAM or CPU checks.
- Worked yesterday, dead today: think back to the last change, such as a BIOS update, a new part, or a power cut.
Many no-POST builds trace back to a socket, BIOS, or memory mismatch. That’s why it pays to check compatibility before you order.
ℹ️ Risk Note: Some fixes below involve CPU socket pins and motherboard firmware. Bent pins and interrupted BIOS updates can cause permanent damage and may affect your warranty. Use only your board manufacturer’s files and methods, and contact their support or an authorized service center for anything beyond reseating parts.
What the CPU, DRAM, VGA and BOOT lights check, in order
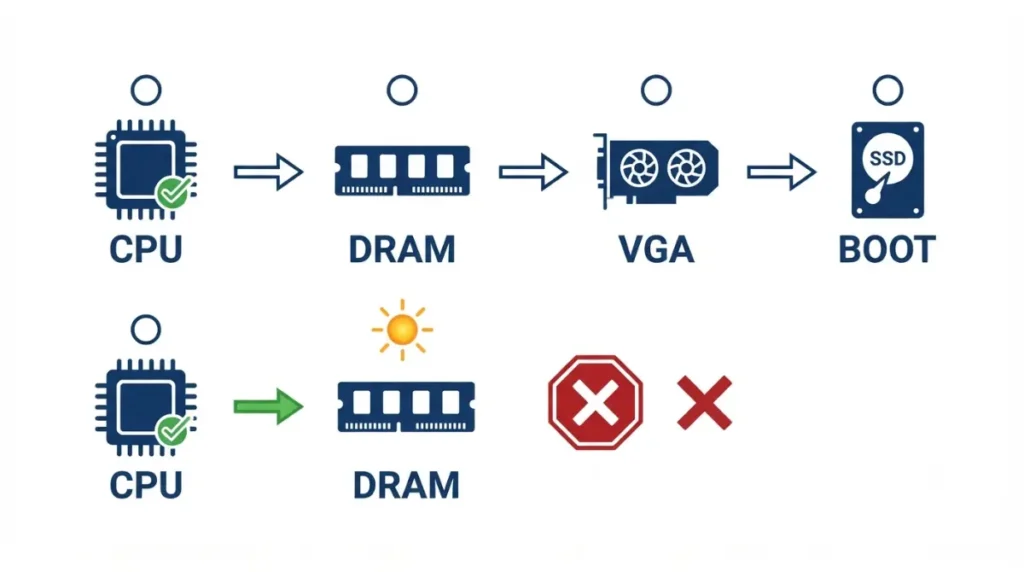
Motherboard debug LEDs show which POST stage failed: processor, memory, graphics, or boot device. ASUS’s Q-LED troubleshooting guide defines what each light means when it stays on after power-on.
| LED | Stage | Solid light after power-on means |
|---|---|---|
| CPU | Processor | No CPU detected, or CPU faulty |
| DRAM | Memory | No memory detected, or memory faulty |
| VGA | Graphics | No graphics card detected, or card faulty |
| BOOT | Boot device | No boot drive detected, or drive faulty |
Source: ASUS Q-LED troubleshooting FAQ, last updated April 7, 2026.
The usual order and what each stage means
ASUS lists the stages as CPU, DRAM, VGA, BOOT. Treat that as the usual sequence, and confirm your board’s exact order in its manual. On ASUS boards, the row usually sits near the 24-pin power connector or the memory slots.
When your board has no four-LED row
Some ASUS boards instead use Q-LED Core, which flashes the power LED at different speeds. ASUS explains this system in its guide for boards that use a blinking power LED instead.
- Fast blink: DRAM not detected on Intel boards, but CPU not detected on AMD boards.
- Slow blink: no VGA detected.
- Very slow blink: no boot device.
- Solid: normal boot.
Does the LED color matter?
The official sources we checked set no color standard that applies across brands.
Normal flicker or stuck light: how long to wait
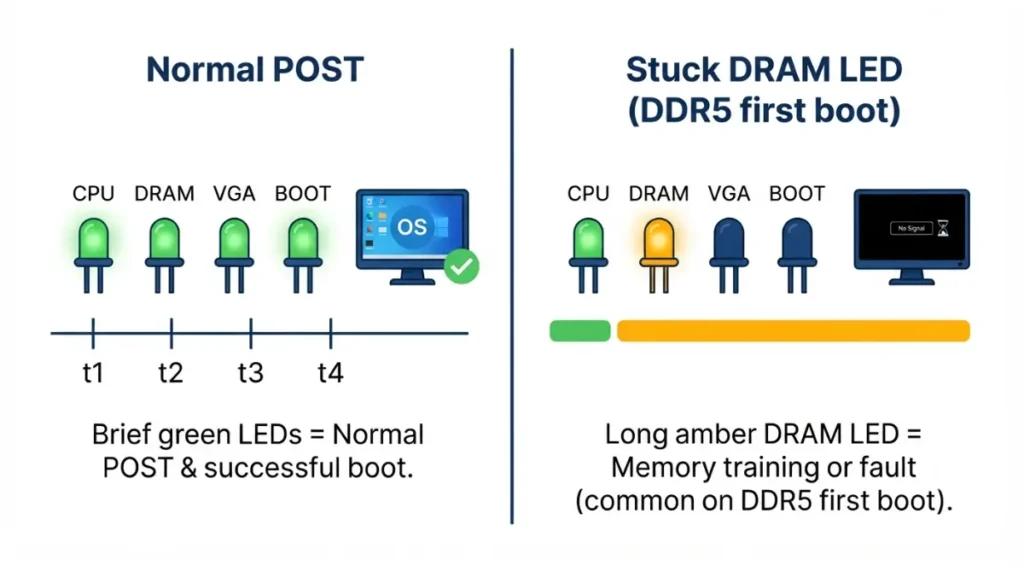
A lit LED only signals a fault when it stays on and the board goes no further.
Normal: each LED lights briefly, then clears
MSI describes the fault signal this way: when hardware fails during boot, the corresponding LED stays constantly on. A light that comes on and then clears as boot moves on is not that signal.
Long DRAM light on a new DDR5 build or after a BIOS update
XDA Developers and How-To Geek both describe DDR5 memory training. On a first boot, the board calibrates your memory, so the DRAM stage can run noticeably longer with nothing on screen. Both outlets report that later boots are faster once training completes.
✅ Do This: After new RAM, a BIOS update, or a CMOS clear, let the first boot run without pressing reset. If the same LED is still lit after a long wait with no change, move on to that LED’s checks below.
CPU light stays on: checks before you blame the processor
A stuck CPU light means the board couldn’t bring up the processor. Work through these checks from least to most invasive.
Power first: the CPU power connector
MSI’s first hardware check is whether the CPU power cable from the power supply is properly connected. Push it fully home at the board end.
Cooler pressure and seating
ASUS’s first CPU step is to re-install the processor. That means removing the cooler and then refitting it according to the cooler’s own manual.
A new CPU on an older BIOS
MSI notes that some boards need a BIOS update before they support certain CPUs. Check whether your board’s BIOS supports your CPU against its CPU support list before you suspect the chip.
The LED-Stop Decision Matrix
| Stuck LED | Stage that didn’t finish | Checks, least invasive first | Where to confirm for your board |
|---|---|---|---|
| CPU | Processor | CPU power cable → reseat CPU → CPU support list and BIOS version → pins (see risk section) | CPU support list; manual |
| DRAM | Memory | Full seating → manual’s slot layout → one stick, then add one at a time → QVL → CPU | Memory QVL; manual’s memory configuration page |
| VGA | Graphics | Monitor cable on the card’s output → reseat card → integrated graphics check | CPU spec page; graphics card manual |
| BOOT | Boot device | Reseat SATA cable or M.2 drive and its screw → try another cable, port, or drive | Manual’s M.2/SATA section |
Source: ASUS Q-LED troubleshooting FAQ (April 7, 2026) and MSI no-display FAQ (January 6, 2025). The steps within each row come from those pages; arranging them from least to most invasive is The Silicon Scroll’s editorial synthesis.
DRAM light on: memory checks before buying new RAM
ASUS gives a specific order for a stuck DRAM light:
- Confirm each stick is fully inserted.
- Check the stick contacts and slots for dirt.
- Use memory from the board’s QVL (qualified vendor list).
- Follow the memory configuration in your manual.
- Boot with one stick, then add one at a time.
- Try different memory.
- Reinstall or swap the CPU.
Reseat and use the manual’s slot order
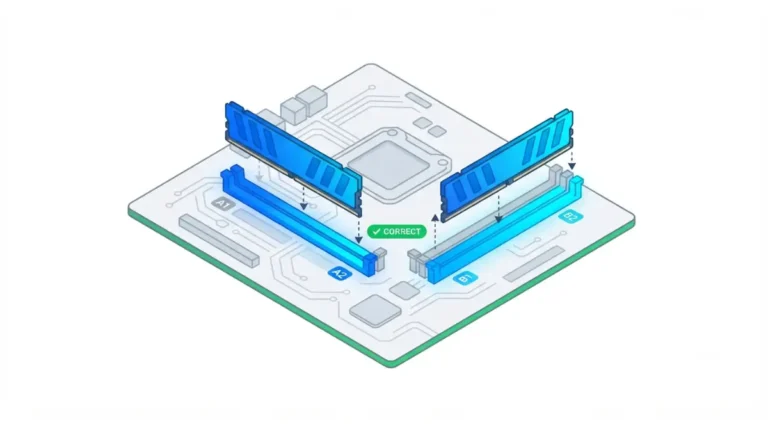
A half-seated stick and the wrong slots are the first two things to rule out. Your manual shows which slots to fill for your stick count.
Boot on one stick, then add the rest
🔍 Why It Works: Testing one memory module at a time isolates the fault. If the board boots on one stick, the problem follows whichever stick or slot you add next.
Check the kit against the QVL
Finish by checking your kit against the memory support list for your exact board and BIOS version. ASUS’s final step points to the CPU, which shows that the LED marks a stage, not a guilty part.
VGA or BOOT light: display and drive checks
These two late-stage lights often point to connections rather than dead hardware.
VGA: right port, right power, CPU without integrated graphics
MSI’s display checks start simply:
- Is the monitor cable connected to the graphics card?
- Is the monitor set to the right input?
- Is every power connector the card’s manual lists fully seated?
Using the motherboard’s video output only works if your CPU has integrated graphics. The ASUS Q-LED Core FAQ flags a CPU without integrated display as a no-VGA cause.
🧩 Compatibility Check: Open your exact CPU model’s page on AMD’s or Intel’s site and read the graphics field. If it lists none, the motherboard’s video ports will stay dark.
BOOT: the board passed hardware checks but found no boot drive
If only BOOT is lit, the CPU, DRAM, and VGA lights have cleared. ASUS’s order is:
- Reconnect the SATA cable at both ends.
- Reseat the M.2 SSD and confirm its screw is locked.
- Check the contacts for dirt.
- Try another cable, port, or drive.
For the full list of display and hardware checks, see MSI’s no-display troubleshooting steps.
When it points to bent pins, BIOS or the power supply
If the checks above fail, the remaining causes carry real risk. This section is kept general on purpose.
Bent socket pins: inspect, don’t straighten
ASUS’s CPU steps include checking for broken pins. A damaged socket or CPU is a warranty and repair question, not a home fix. Our guide to installing a CPU without bending pins covers prevention.
⚠️ Watch Out: Straightening socket pins can make the damage permanent and may void your warranty. Photograph the socket and contact your motherboard maker’s support about repair options before you touch it.
BIOS Flashback and power supply: use the manufacturer’s method
When Q-LED checks don’t fix the problem, ASUS’s next steps are clearing CMOS, then using USB BIOS FlashBack if the board supports it. See our explainer on BIOS Flashback without a CPU, and follow only MSI’s official BIOS update method or your own board maker’s equivalent. Never open a power supply; if you suspect it, contact its manufacturer.
✅ Do This: Before any firmware step, download the BIOS file only from your exact board model’s support page. Contact the board maker’s support if the model name or revision doesn’t match.
Motherboard debug LED FAQ
1. What does a solid CPU debug LED mean?
A solid CPU motherboard debug LED means the board didn’t detect a working CPU; check CPU power, seating, and BIOS support first.
2. Why is my DRAM debug LED on after new RAM?
A lit DRAM motherboard debug LED points to memory; confirm full seating, the manual’s slot layout, and QVL listing, then test one stick.
3. Is it normal for debug LEDs to light at startup?
Yes, a motherboard debug LED can light briefly as POST moves through stages; only a light that stays on signals a fault.
4. Why does the DRAM LED stay on longer on a new DDR5 build?
The DRAM motherboard debug LED can stay lit longer on first boot while DDR5 memory trains; later boots are typically faster.
5. What should I check when the VGA LED is on?
A VGA motherboard debug LED points to graphics: check the monitor is on the card’s output, reseat the card, and confirm integrated graphics.
6. What does the BOOT debug LED mean?
A BOOT motherboard debug LED means no boot device was found; reseat the SATA cable or M.2 drive and check its screw.
7. Can a BIOS version cause the CPU debug LED?
It can. For a CPU motherboard debug LED, check your board’s CPU support list; MSI notes some boards need a BIOS update for certain CPUs. Use only your board maker’s update method.
8. My board has no debug LED row. What now?
Some ASUS boards use Q-LED Core instead of a motherboard debug LED row, signaling faults through blink speeds of the power LED.
9. Does debug LED color matter?
No cross-brand standard appeared in the official sources we checked; your board’s manual explains what its motherboard debug LED colors mean.
10. Should I replace the part the LED points to?
Not first. A motherboard debug LED marks the stage that failed; ASUS’s own DRAM checks end by reseating or swapping the CPU. Contact the manufacturer’s support before buying replacements.
Your next step if the light won’t clear
The debug LED marks a stage, not a verdict. Work through its row in the matrix, least invasive first.
If the fault started with new parts, the compatibility checks in our pillar guide and CPU support by BIOS version show what to confirm. If a check reaches pins or firmware, stop and contact your board maker’s support.